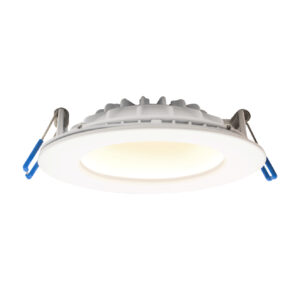
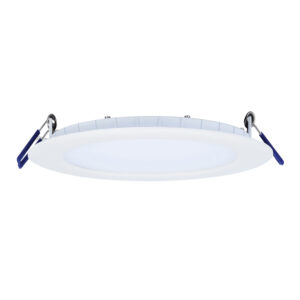
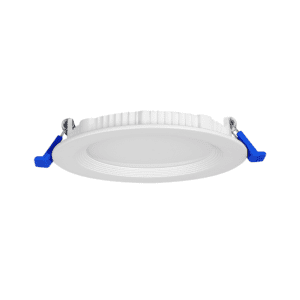
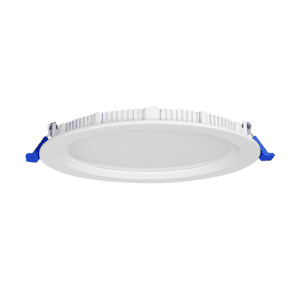
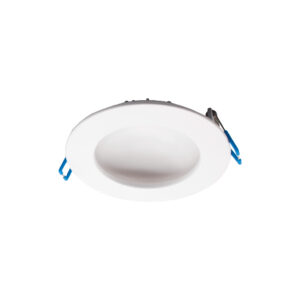
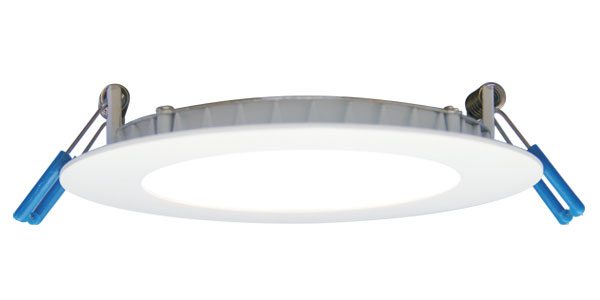
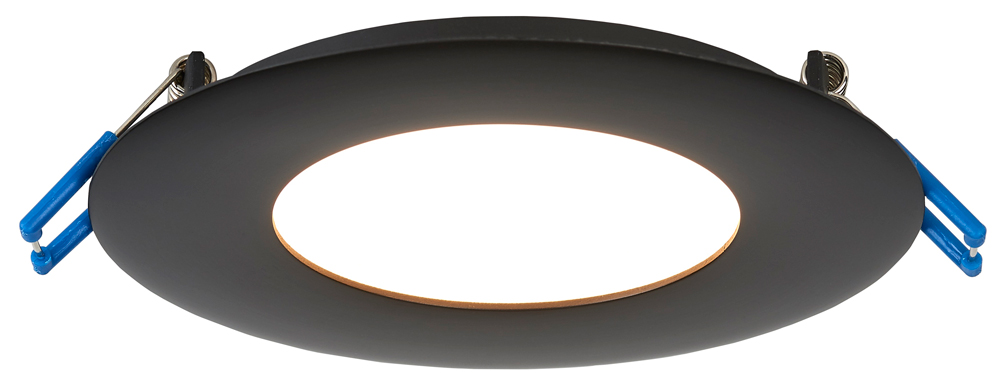
4″ Round Super Thin Economy 11W


1/2″ Deep Economy LED fixture that fits directly under joists. Maximum layout flexibility.
Spec & Sell Sheets
Product Features
- Power 11W
- Light colors: 3000K, 4100K and Dim to Warm 3000-2000K
- Type IC Rated – Approved for Direct Contact with Insulation
- Air-Tight, Wet Location, Insulated and Non Insulated Ceilings
- Triac Dimmable with most CL dimmers 120V input
- 0-10V Dimmable Option 120V – 347V input
- Warranty 5 Year
- cULus Listed and Energy Star certified (except Dim to Warm)
LB4R 360° View
Click & drag your cursor over the image to spin the image 360°.
Video Overview
Discover Our Economy – Builder Grade super Thin LED recessed fixture
Technical Specifications
CONSTRUCTION:
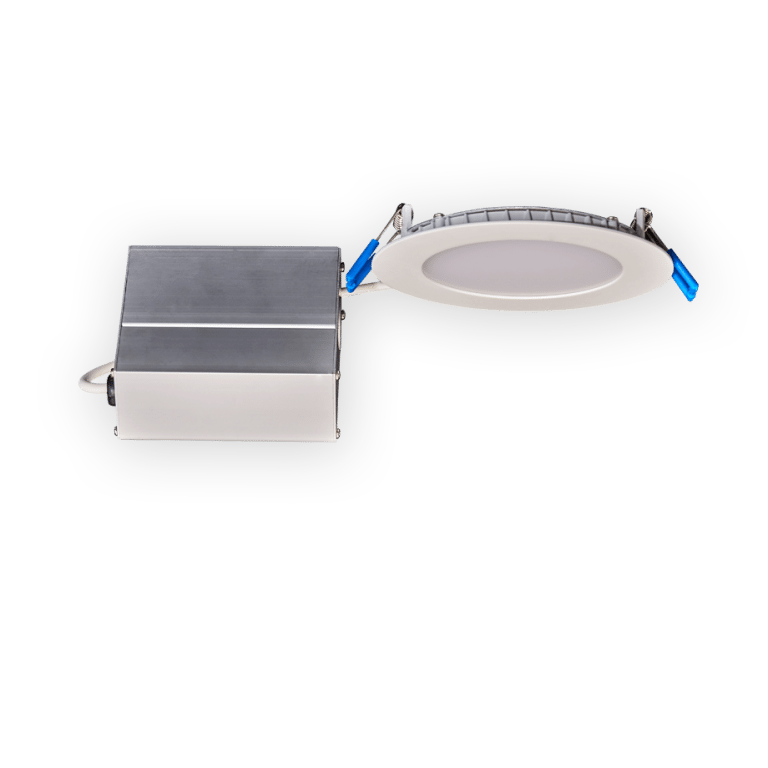
Round 4″ fixtures with integral LEDs. Class 2 Isolated external driver factory installed inside junction box.
One driver for every fixture required.
MOUNTING:
Cut out hole in ceiling (4 1/4″ to 4 1/2″) and snap fixture in opening with attached spring clips.
Space in ceiling needed for the driver to fit through the hole – 2″.
- Default Driver Input Voltage: 120V Triac Dimmable
- Optional Driver Input Voltage: 120-347V 0-10V Dimmable
- Power factor: > 0.98
- Energy Used: 11W
- Halogen equivalent: 65W
- Beam Angle: 110°
- Light colour options: Warm White 3000K, Neutral White 4100K, Dim to Warm 3000K to 2000K
- Light output: Warm White 700 lm, Neutral White 730 lm, Dim to Warm 700 lm
- CRI: > 80
- Ambient Operating Temperature: -40°F (-40°C) to +104°F (+40°C)
- Compliance: cULus Listed, certified to CSA STD. C22.2 No. 250.0
- Rated: Type IC (Direct Contact with Insulation), Energy Star (30K and 41K only), Air-Tight
DIMENSIONS:
- ID 4″; OD 4 7/8″; Thickness 1/2″
- Cut out: 4″ to 4 1/4″
- Junction Box Dimensions (with driver inside): 3 3/4″ x 3 3/8″ x 1 1/2″
Suitable for damp locations and soffit installations.
Installation
ALL FIXTURES MUST BE INSTALLED IN ACCORDANCE WITH CURRENT APPLICABLE ELECTRICAL CODES.
Recessed LED Lights Driver Installation:
CONNECTING THE DRIVER:
Open the cover of the junction box. Push and remove one of the half-inch knockouts on the side plate. Install standard L16 cable connector. Use double connector for daisy chaining multiple drivers. Insert line voltage feed into the cable connector and splice same colour wires using wire nuts. Close the cover. Connect the driver to the light fixture – the arrows on the male and female parts of the connector between the driver and the fixture should match. Tighten the connector by hand. Do not attach the junction box to anything so you can pull it through the ceiling opening in case you need to service the driver in future.
OPTIONS FOR LOCATING DRIVER:
Fixture comes connected to the driver by 12″ long low voltage cable with waterproof connector in the middle.
Depending on where you want the driver to be you have 2 options:
- Locate next to the fixture – run line voltage wiring to first junction box and “daisy chain” to the junction boxes of the other fixtures.
- Or install all drivers at one location and use low voltage extension cables to the fixtures. Use only extensions provided by the manufacturer. Available jumper cables are 10 feet (3m) – cat # EXC10. Cables are linkable.
Maximum run should not exceed 40 feet (12m).
DIMMING:
We recommend LED/CFL dimmers that have a low range adjustment dial. After all fixtures are connected to the dimmer adjust the dial to the lowest position before the lights start to flicker of shut down. This setting depends on the local voltage and number of fixtures per dimmer.
WARNING:
DO NOT USE ANY OTHER DRIVERS EXCEPT THE LOTUS DRIVERS THAT ARE INCLUDED WITH THE FIXTURE.
DO NOT CONNECT MULTIPLE FIXTURES TO ONE DRIVER.
DO NOT OPEN THE LIGHT FIXTURE AND THE SIDE PLATES OF THE DRIVER – NO SERVICEABLE PARTS INSIDE.
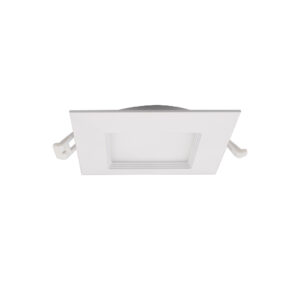
Trim Color Options
White – WH
Black – BK
Downloads
Specification Sheet
Spec Sheet LB4R
pdf files
LB4R/30K | LB4R/41K | LB4R/32K dim to warm
IES files
LB4R/30K | LB4R/41K| LB4R/32K dim to warm
Related Products
-

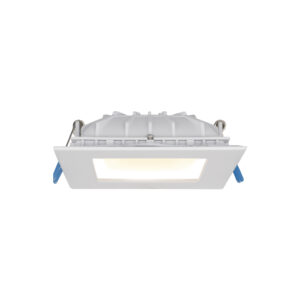
4″ Square Indirect Slim Recessed LED 12W
DS-LED-4-S12W-SQ -
6″ Round Indirect Slim Recessed LED 15W
DS-LED-6-S15W -
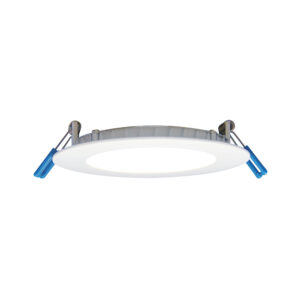
4″ Round Economy Recessed 5CCT LED 11W
LE4R-5CCT -
6″ Round Economy Recessed 5CCT LED 14W
LE6R-5CCT -
8″ Round Economy 5CCT Recessed LED 18W
LE8R-5CCT -
4″ Round Regressed Baffle Eco LED 10W 5CCT
JXL-CA04-T10W-5CCT -
6″ Round Regressed Baffle Eco LED 12W 5CCT
JXL-CA06-T12W-5CCT -
4″ Square Regressed Baffle LED 9W 5CCT
LED-S9W-5CCTWH-SQ-BF -
6″ Square Regressed Baffle LED 12W 5CCT
LED-6-S12W-5CCT-SQ-BF -
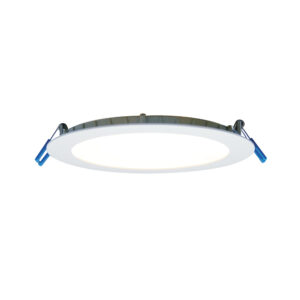
4″ Round Indirect Slim Recessed LED 12W
DS-LED-4-S12W